
Is your video always looks unpleasent due to poor background? And you thinks to remove this background by using Green screen in CapCut to make your video attractive. But you don’t know how to apply perfectly green screen in CapCut. This article is for you if you want to jump on board with this screen trend. You might have seen and heard about the green screen because nowadays, it’s a trending feature used by the TikTokers, Youtubers and other video editors for video editing.
CapCut green screen is used while making memes, selfie videos, dynamic videos, or creative banners that raise your videos to the next level. You must have a video editor with a green screen feature like “CapCut”.
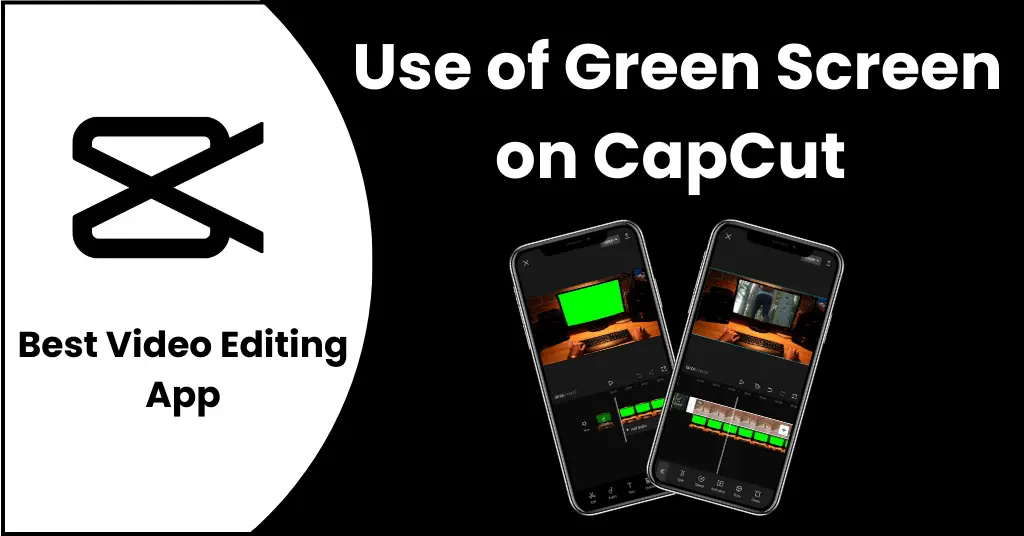
Table of Contents
- 1 What is a Green Screen?
- 2 Why CapCut for Green Screen?
- 3 Methods of using Green screen in CapCut
- 4 1) How to do Green Screen in CapCut By using Chroma Key?
- 4.1 Step-1: Open CapCut and add new project
- 4.2 Step-2: Select video and tap on add button
- 4.3 Step-3: Add green screen video as an overlay
- 4.4 Step-4: Upload green screen video
- 4.5 Step-5: Using chroma key and remove color
- 4.6 Step-6: Remove Background Color and Adjust Intensity
- 4.7 Step-7: Save and exporting video
- 5 How to use Green Screen by removing the background?
- 6 Bonus Tips and Tricks for Using Green Screen in CapCut
- 7 Pros
- 8 Cons
- 9 FAQs
- 10 Conclusion
What is a Green Screen?
A green screen is a green-color background used in videos and photos, allow you to change the green background with different images or scenes during editing.
Most of the time, you shoot a video or create your video on any video editing app but you do not have a proper background. Don’t worry if your video does not have an eye-catching background because now CapCut is the best solution for this. CapCut green screen is an incredible option to remove or change your video background. This feature is used to remove your video background and make it more attractive and professional-looking. You can make your videos more attractive and funny by just applying the wrap me in plastic CapCut template which you will really love to use it.
Why CapCut for Green Screen?
1. There are different apps and websites which offer a green screen for video editing, but “CapCut” is preferable to all of them because it has more than 500 Million downloaders on Google Play. This app is also available on the Apple store.
2. With the help of a green screen in CapCut, you can fabulously edit your videos. You can merge your videos into each other with the use of it.
3. It has a lot of effects and filters to customize your videos and allows you to control speed and intensity, add layers, 3D zoom effects, add texts, background music tracks, and many more.

Methods of using Green screen in CapCut
You can remove video background by using two features of CapCut such as:
- By using the Chroma key
- By removing Background
What is Chroma Key?
I am sure that you will hear this term in your life if you are using the CapCut app. Do you ever think about this? What is the actual purpose of the Chroma key? Why does everyone suggest you use this? Because Chroma is such a powerful tool that it can easily remove your green screen video background and can also add a pre-designed background to your video. It is the latest feature offered by the CapCut app.
If this excellent feature is not showing in your CapCut app then there could be a lot of reasons behind this. We can help you to resolve this issue.
- First of all, check whether you are using an updated version of the CapCut app or not. If you are using an old version of it then update it first and check again.
- If you are using an updated version of CapCut but still have the same issue then you have to clear the cache and data of your Capcut app. For this purpose go to the mobile settings and tap on the apps. Click on the CapCut app and clear your app cache and data.
1) How to do Green Screen in CapCut By using Chroma Key?
You must have a green screen video in your PC or Mobile gallery to use green screen in CapCut. You can freely download this green video from Pexels and Pixabay. We will use this green screen in CapCut with the help of “Chroma Key”. CapCut chroma key is so easy to use that even a non-experienced person can easily apply it. Follow the following guidelines to use this:
Step-1: Open CapCut and add new project
- If you don’t have “Capcut” in your device, Download CapCut Apk and open it.
- Click on the “New Project”

- Select your clip which will use as a background video
- Click on the “Add” button located in the bottom right corner of the screen

Step-3: Add green screen video as an overlay
- Click on the “Overlay” button at the bottom of the screen
- Tap on “Add Overlay”.

Step-4: Upload green screen video
- Select the green screen video you saved on your device.
- Upload it as an overlay video.

Step-5: Using chroma key and remove color
- Select the green screen video by just clicking on it. Click on “Cutout” button and tap on “Chroma Key”.
- A circle will appear in front of you, and select the color you want to remove (in this case: green color).

Step-6: Remove Background Color and Adjust Intensity
- From the settings of the Chroma key, you can change the intensity of it. Some videos may require an increase or decrease in intensity.
- Some videos may not be adjusted, or their background could not be removed properly; in that case, use the shadow option.
- Move the shadow slider towards zero. If the video does not look perfect at zero shadow, you can increase or decrease it.

Here you have all done perfectly! Now that the background is removed, you might have to reposition the subject on the overlay again because the overlay video size will vary from the original video. For this purpose, you must select the video and drag on the overlay video with your fingers on the playback frame.
Step-7: Save and exporting video
- When you have all done and your video is edited correctly.
- Than you can save your video by clicking on the export option (↑).

Here, you will see different social media icons where you want to share your video. You can share your videos on TikTok, Instagram, Facebook, Whatsapp and others. If you don’t want to share your videos on social media, you can save your video by clicking on the “Done” button in the top right corner of the screen.
How to use Green Screen by removing the background?
If you think that the chroma key is complex to use and don’t want to use this for a long video then you can use the “Remove Background” option that is much easier to use and customize. If you don’t know how to use this amazing feature then don’t worry, we will help you step by step that how can use green screen in CapCut by removing the background.
- First of all, install the CapCut app if you don’t have it on your device.
- Open the CapCut app and create a new project.
- Add the video you want to edit.
- Tap on the “Overlay” and add your green screen video.
- Select the green video and find the “Remove Background” button located at the bottom menu of your screen.
- Click on the remove background to remove the green screen in CapCut.
- Customize your video as you want such as using effects and adjust lighting and intensity.
- Here, the background of your video is successfully removed.
- If you have all done and your video is ready to export then tap on the export button located at the top right corner of your screen.
- Your video will be saved in your gallery.
- You succcessfully used green screen in CapCut for removing background.
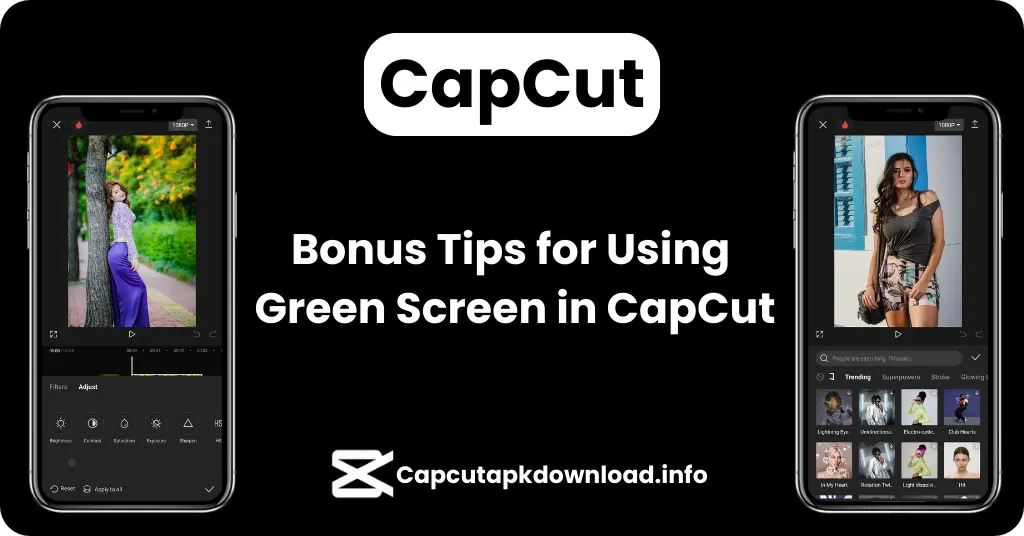
Bonus Tips and Tricks for Using Green Screen in CapCut
1) Color Picker
When you edit your video and use the chroma key feature of the CapCut app you will see an option “Color Picker”. It is used to remove the exact color of your video background. Most of the time you download a red screen video and edit it. In that case, a color picker is a fruitful option for this. Select the specific red color and apply it to your video. You can easily remove the background of your video by using the color picker.
2) Shadow
This option is also provided by the CapCut while removing the background of the video. It is an incredible feature to use to apply shadow to your video. Sometimes, you need to add a shadow on your video, therefore you are moving to different websites to apply this. But in the latest update of CapCut, it is provided free of cost. You can add a shadow to your video by just clicking on the chroma key. After clicking on the chroma key, the shadow option will appear. Adjust it according to your demand. But we recommend that you adjust it to 50% which is the perfect figure for using shadow.
3) Intensity
The slide bar is used to adjust the video intensity of the green screen in CapCut. If you want to get more satisfying results then use this slide bar and adjust the video intensity of the green screen in CapCut. You can adjust it according to your demand. But our recommendation is to make it 100% which will give you outstanding results.
Pros and Cons of using Green Screen
Green Screen has a wide range of editing options and can easily be used by non-professional people. But if it has a lot of advantages, it has also some drawbacks such as:
Pros
- More Compatible
- Multiple editing options
- Flexible Storytelling
- Available in more than 20 languages
- Professional look
Cons
- Higher processing time.
- Unable to use for lengthy videos
Watch the “Video tutorial” below to apply green screen in CapCut.
FAQs
Q: Can I use green screen feature on mobile devices?
A: Yes, You can apply green screen feature in both android and IOS.
Q: Can I use green screen with other effects at same time?
A: Yes, you can combine others effects, transition and elements with green screen at same time.
Q: Can I replace background in moving video through green screen?
A: Yes, you can change background of moving video through green screen on CapCut.
Conclusion
Feature of Green screen in CapCut works as a virtual studio. You change your background quickly with any background at any time with the green screen. The edited background looks like real.If you have any imagination in your mind, you can create in the background of video.
It efficiently works on capcut without creating any problems. Once you are created, you are happy to see yourself in the sky and beach scenes. Use the green screen in CapCut to make youtube videos, vlogs and other videos. This is so easy to do, like other features in CapCut.
Also Read: