
Have you ever try to blur the background of the video but not succeed? Because you don’t know how to blur videos in CapCut. You can make your videos more unique in CapCut by adding blur filter effects. These effects give your videos a creative expression to a desired level, such as subtle or intense. Blur videos in CapCut can easly done due to its user-friendly interface within a few seconds. You can protect your inappropriate video parts by simply adding a blurry effect.
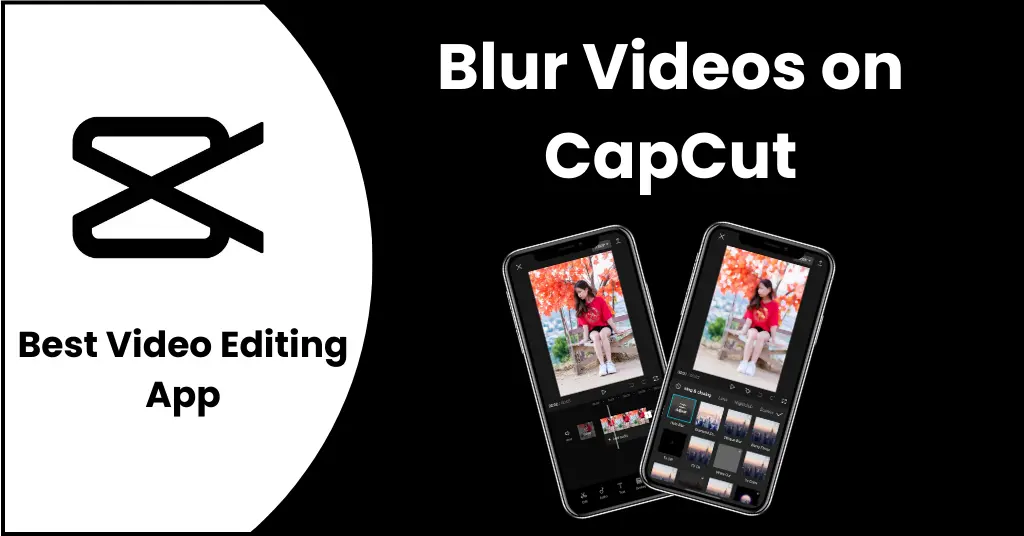
Table of Contents
Ways to Apply Blur Videos in CapCut:
There are mainly three types of applying blur effects on your videos such as:
- Apply blur on the entire video
- Apply blur on a specific part of a video
- Apply blur on the background of video
1) Apply Blur on the Entire Video
Here is the simple steps to add blur videos in CapCut on a entire video:
Step-1: Open CapCut and add new Project
- First of all, Download CapCut apk.
- Click on the “New Project” option.

Step-2: Select and add your video
- Select the video in which you want to add a blur effect.
- Click on the “Effects” option.

Step-3: Add video effect
- Now click on the options named “Video Effects.”
- Here, all of the blur effects will show in front of you.
- Select the specific blur effect you want to apply to your video.
- Selected effect will apply to your video.

Step-4: Apply effect on your video
- Click on the “Main video Blur” bar.
- Drag or swipe it on both the left and right sides and cover the whole video.

Step-5: Adjust speed and intensity
- Click on the “Adjust” button.
- Here you can adjust the speed and intensity of the blur effect.

Step-6: Export your video
- Blur effect will apply to your video.
- Click on the “Export” button and save your video on your device.
- Your process of blur videos in CapCut on entire video are successfully complated.

2) Apply Blur on a Specific Part of the Video
Here is the simple steps for blur videos in CapCut in a specific part of the video:
Step-1: Add your video and click on Effects
- First of all, Open the CapCut app.
- Click on the “New Project” option.
- Select the video in which you want to add a blur effect.
- Click on the “Effects” option.

Step-2: Add video effect
- Now click on the options named “Video Effects.”
- Here, all of the blur effects will show in front of you.

Step-3: Select your favorite effect
- Select the specific blur effect you want to apply to your video.
- Selected effect will apply to your video.
Step-3: Apply effect on specific part of video
- Click on the “Main video Blur” bar.
- Drag it on the specific part of the video where you want to apply the blur effect.

Step-4: Adjust speed and intensity
- Click on the “Adjust” button.
- Here you can adjust the speed and intensity of the blur effect.

Step-6: Export your video
- Blur effect will apply to your video.
- Click on the “Export” button and save your video on your device.
- Your process of blur videos in CapCut on specific part of video are successfully complated.

3) Apply Blur Effect on the Background of the Video
These are the steps for how to blur video background in CapCut. By following these steps you can apply blur effect on background of the video.
Step-1: Open CapCut and add new project
- First of all, open the Capcut app.
- Click on the “New Project” option.

Step-2: Click on effect
- Select the video in which you want to add a blur effect.
- Click on the “Effects” option.

Step-3: Add video Blur effect
- Now click on the options named “Video Effects.”
- Here, all of the blur effects will show in front of you
- Select the specific blur effect you want to apply on your video, such as “Halo blur.”
- Selected effect will apply to your video.

Step-4: Apply effect on video
- Click on the “Main video Blur” bar.
- Drag or swipe it on both the left and right sides and cover the whole video.

Step-5: Add overlay and import your video
- Go to the main menu by clicking on the back button.
- Now click on the “Overlay” option and click on “Add overlay.”

Step-6: Add the imported video
- Select the video saved in your device with the tag “imported”.
- You video will import here.

Step-7: Click on CutOut and Remove background
- Now click on “Cutout” and tap on “Remove background”.
- Please wait for it because processing this may take a few seconds.
- Increase the overlay to be slightly larger than the standard video to make the blur effect look better.

Step-7: Export your video
- Click on the “Export” button and save the video in your device.
- Your process of blur videos in CapCut on entire video are successfully complated.

I hope you complelety learn how to blur videos on CapCut.
CapCut apk has multiple features you can reverse video in CapCut and add multiple type of filters to make your video attractive.
Watch the “Video tutorial” below to make blur videos in CapCut easily.
FAQs
Q: Can we do blur effect more or less intense?
A: Yes, You can adjust the intensity of the blur effect by dragging the line in Blur effect setting.
Q: Can I blur a specific part of video in CapCut?
A: Yes, You can blur a part of the video by using the Mask Tool.
Q: Is quality of Video will be effect by using Blur effect in CapCut?
A: No, Quality of the video will not be destroyed due to blur effect.
Conclusion
CapCut provides an excellent feature to blur the background or a specific video part. This feature is commonly used to hide the most sensitive information, which may be your account name or personal information. If you have any paid content blur option prevent from downloading.
You can easily hide your face in the entire video by applying a blur effect. The blur video in CapCut effect is a user-friendly way to enhance privacy and create unbelievable videos by controlling what should be visible and what should be hidden.
Also Read: